How I Redecorated Our Living Room for the Fall Season
Disclaimer: This post was created as part of a compensated collaboration with Tuesday Morning, but you should know I’ve been shopping at Tuesday Morning stores since I was little (my mom’s a big fan, too!), and the partnership sure doesn’t change the outcome of how happy I am with our new Fall décor!
Every time I walk into a Tuesday Morning store, it feels as though I’m embarking on a creative journey that unfolds as I weave up and down all of the colorful, texture-filled aisles. This past Sunday was no different.
It was the first full week where the temperatures here in the Denver, Colorado area stayed below 75 degrees, and the leaves had just started changing in our neighborhood. I was invigorated by the chill in the air and the yellowing trees on our property, so I headed out to Tuesday Morning—our closest location being only 10 minutes from my doorstep—to see what I might find. One of my favorite things about shopping here is that it’s all about the thrill of the discovery; often, I go in without a vision in mind and allow the pieces I stumble upon in-store to create the vibe I end up bringing into a space. I’m without-fail always able to achieve a high-end look at 20-60% off what I’d typically spend in specialty and department stores, and with the holidays coming up quickly, I know how important it is to decorate without breaking the bank.
Here, I’m sharing some of my go-to full-room decorating tips, and I’m excited to show you all of the #TuesdayMorningFinds I scored from this shopping trip!
Divide the space into sections
For any full-room design or decorating plan, it can often feel intimidating to go into a store without some sort of mental (or written) outline. I’m usually a list person, but I’ve been decorating spaces for so long that I was able to plan this out all in my head before walking into the local Tuesday Morning store. How? I separated my sitting room into three distinct sections, and then from there, was able to feel much more confident about the “winging-it” aspect of discovering the color scheme and style vibe while shopping in the store.
Sofa: Pillows and Throws
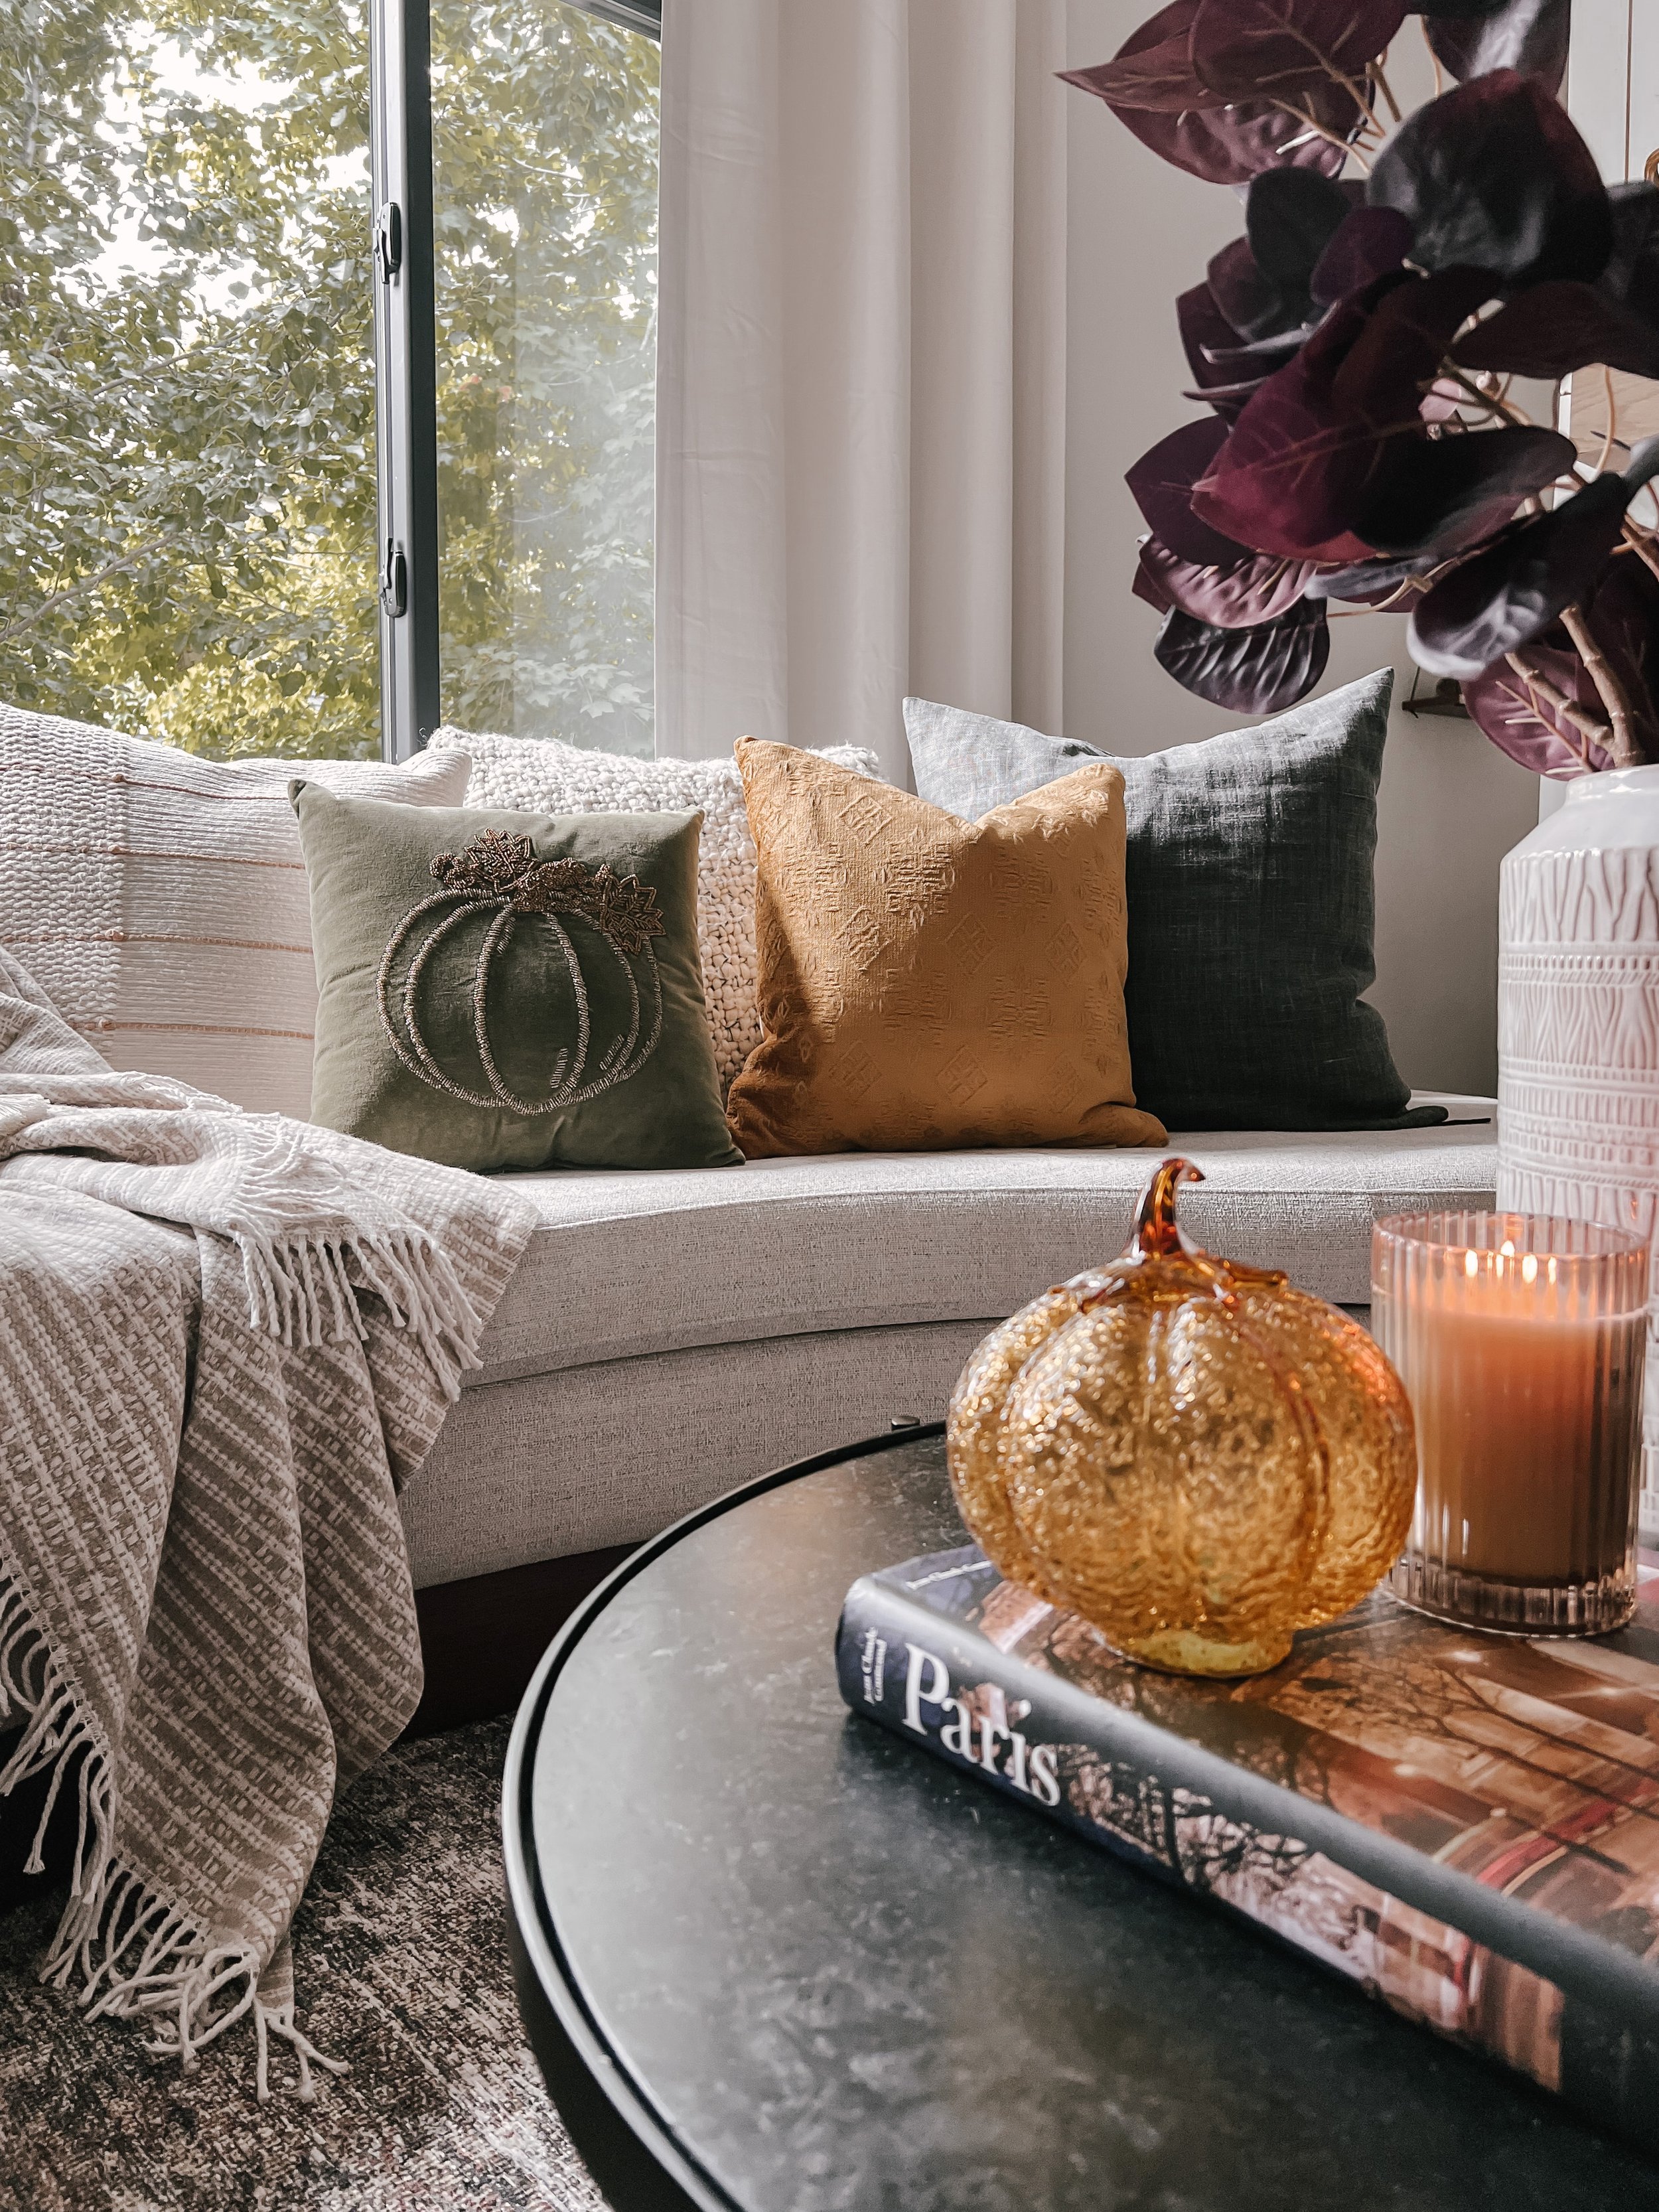
First, I headed straight to the walls of accent pillows to determine the base color scheme for this space. Our area rug has warm, muted tones; primarily rust with warm tobacco-brown, charcoal, and mustard. Keeping in line with this warm base, I spotted some golden-mustard pillows with a beautiful embroidered pattern. Since most of the “filler” pillows on this sofa are white or ivory, I knew these would be great accents. I purchased two of them to give balance to the sofa among the neutral base pillows, and I must say, they certainly add a vibrance to this space that screams “Fall!”
If you’ve been following my décor for a few years now, you know I’m a total sucker for something a little extra festive come Fall (and honestly, Christmas too). The moment I saw this adorable green velvet, beaded pumpkin pillow, there was no question that it belonged in my home! I also love that the green base is a more olive-tone, which plays nicely with the other seasonal colors in this room (plus with the tree just outside this room beginning to yellow, this pillow was a perfect match!).
To give this polished sofa a more laid-back, cozy vibe, I found a textured throw blanket in a warm, natural tone to loosely drape over the middle portion. My tip for making a throw blanket actually look “thrown” is to pinch it in the middle, then move your fingers to around 1/3 of the way in from the end, lengthwise. Then, gently toss the part you’re pinching onto the back cushion where you want it styled, and make small tweaks to the part lying on the seat cushion (for example, if the blanket has a fringed edge or another detail such as cute pom-poms, you want those to lay nicely). Place your throw pillows over the edges, and there you go!
Coffee Table
I’ve actually written a separate post a while back that goes into detail about coffee table styling for round, square, and rectangular coffee tables. That’s linked here in case yours is not round like the one pictured in this space.
With our sitting room’s round coffee table, I tend to follow my go-to styling recipe, which contains the following ingredients:
A large decorative hardcover book
A tall vase with voluminous florals or dried/preserved stems, placed next to the book
Something low and wide to set on top of the book
A stylish candle for ambiance (not to mention the power scent has in enhancing the mood of a space)
If you feel you still need something more, feel free to bring in something textural and low, like marble or wood coasters, or a wood-bead garland, to split the difference in height between the candle and decorative object (and to help abide by the rule of thirds)
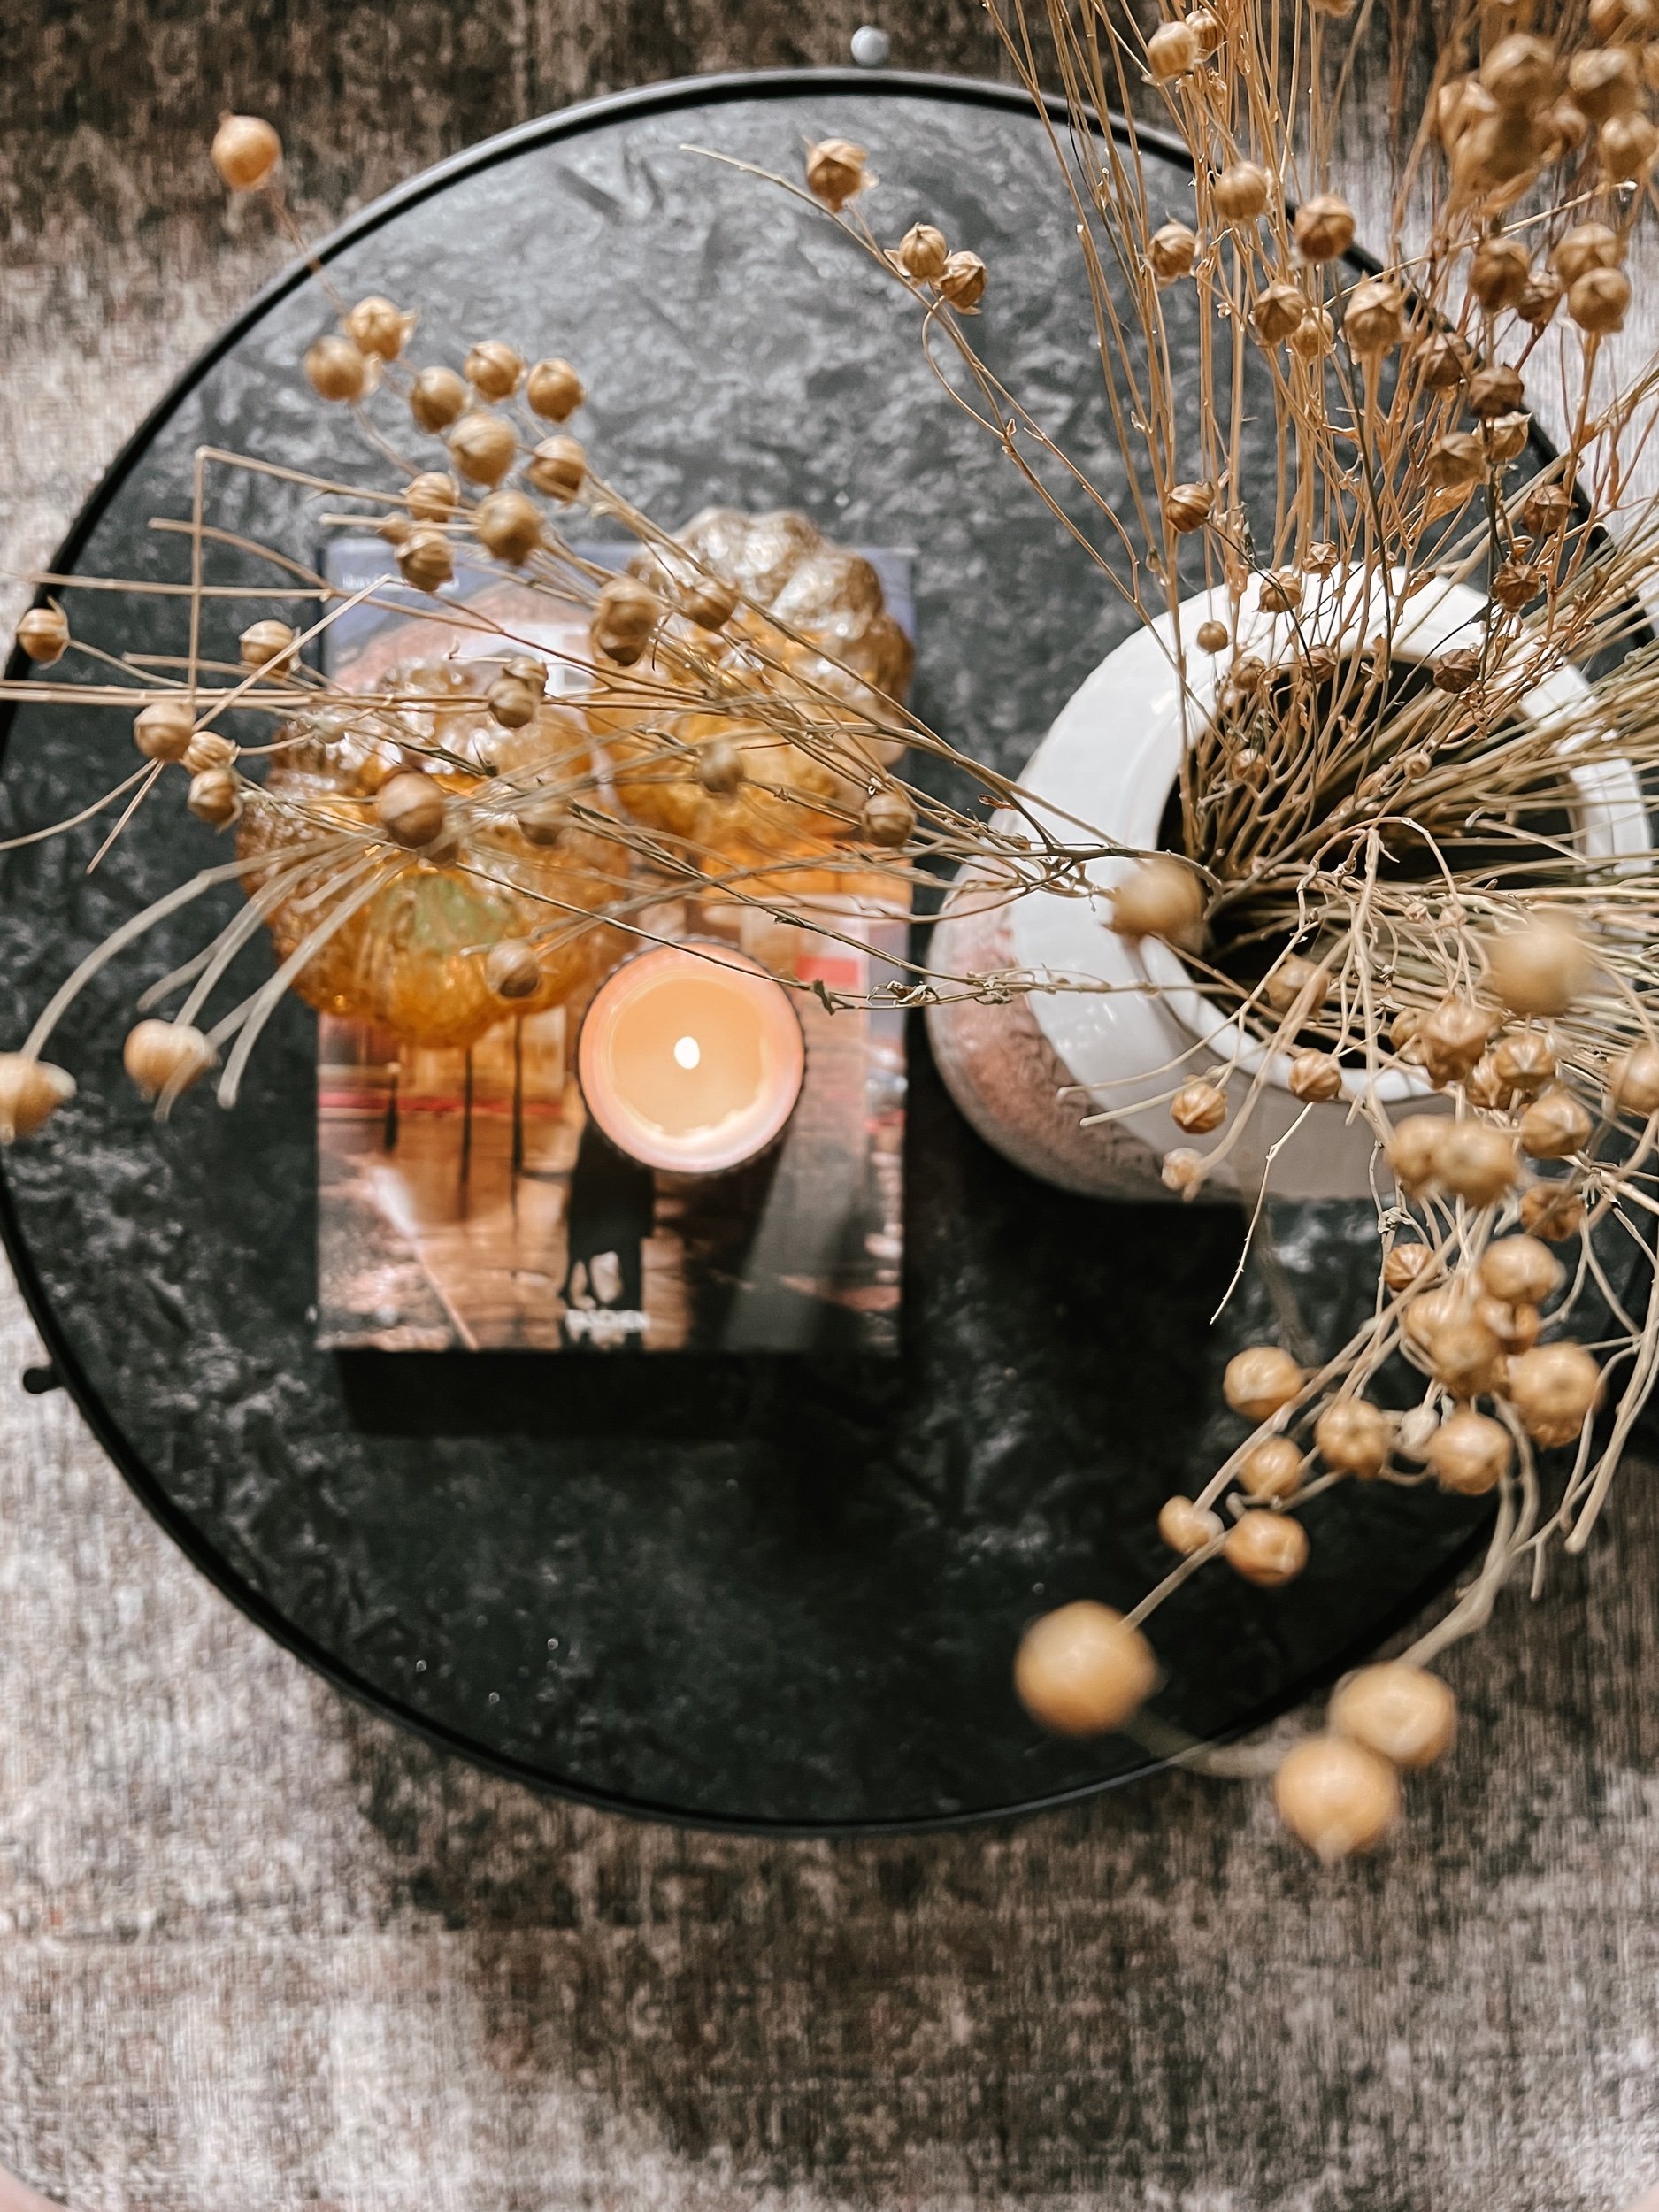
I repurposed our existing coffee table book because I already loved the scale of it here. Next, I added a textured ceramic vase I spotted while on my way to the pillows. I saw it and loved it too much to leave it behind for someone else to pick up! I filled that with some dried florals, then got to work with my little on-the-book pairing: a cute glass pumpkin and a latte-scented candle in a beautiful smoke glass canister—both of which came at too-good-to-be-true (yet they were real!) prices. In all, my coffee table décor came in under $40!
Mantel
At this time last year, this fireplace was actually under construction (a DIY my husband and I took on), so it was such a joy to get to style it for its debut Fall season this year! Whenever I decorate a mantel, I aim for a general guideline of an appropriately scaled focal point, such as a large piece of art or decorative mirror, surrounded by supporting accessories. Typically, I like to have something tall and narrow on one side of the mantel, and then something a little shorter but with more volume or texture to balance the other side. When it comes to the harvest season and the holidays that follow, I do like to throw in a little more texture in the form of a garland or something to that effect across the middle. I think it levels-up the cozy factor.
The moment I stepped into my neighborhood Tuesday Morning store, the VERY first thing I spotted was this set of carved-wood pillar candleholders. Underestimating just how cost-friendly this shopping trip would be, I almost bypassed them, assuming they’d cost too much for the budget I had set for myself that day. Boy am I glad I went back and checked!! They were $19.99 and $16.99, and they’re so beautiful and versatile that I can keep them here year-round—need I say more?
Now that I had the height for one side of the mantel, I needed to focus on the low and wide for the other side. There were a few aisles that were strictly pumpkin-related décor and accessories, and when I saw these three wood-carved white pumpkins, I thought, These will be really cute if I can stack them together on the mantel. I’m so glad they fit when I got home!
As I was heading to the cash register, I spotted some dried stems, tied together at the base with a pretty burlap bow. There were a few of these hanging among some other beautiful wreaths and garlands, and I recalled a gorgeous image I saw on Pinterest where the creator had draped some dried florals over one end of her mantel in an asymmetric style. That was my intention when I bought these, but as goes the art of decorating, I learned that our mantel was not deep enough to fit both of these and the candleholders, so I improvised. I actually like this look even better, and with both bundles having a cute textural bow at their bases, I was able to tie them together with that right in the middle.
See the full space and make tweaks as needed
After I had finished decorating each of the three sections that I divided our sitting room into, I took a step back so I could take it all in and make any necessary changes before calling it “finished.” You’ll notice in the images sprinkled throughout this post some of the things I tweaked ;)
The florals I used for the ceramic vase were the first thing. The plum-toned leaves felt a little too cool-toned for the warm, vibrant yellow pillows I added to this room, so I changed them out for some dried straw-colored stems. I also actually bought two of those cute little glass pumpkins for the coffee table, but in the end, only kept one because I felt there were too many glass pieces clustered there, and I loved that candle too much to part with it.
Finally, when looking at the sofa from further back, it made it more apparent that I needed to move some of the larger pillows to new locations so that there would be more size variety in each section of the sofa. At first, I had a couple spots where the colors worked well, but I had two same-size pillows side-by-side, and that didn’t look right to me.
In the end, I’ve created a space I love relaxing in, all for under $200 and less than one hour of shopping. Remember these tips when you visit your local Tuesday Morning store, and you’ll do great!


